Completing a Project
District 101 Pathways Guide
Ken Braly, DTM, DL5, PM5
You’ve read through the project you’re working on (like the Ice Breaker or the Researching and Presenting project, done the steps involved, and given the speech. Your evaluator has filled out the Evaluation Resource and returned it to you. Are you finished?
No! You’ve finished the project, but Pathways doesn’t know you’ve finished it. You don’t have to get your VP-Education involved until you’ve completed all the projects in a Level, but you do have to tell Pathways that you’re done with this project.
Completing a project is the same for every project in Pathways. Here are the steps.
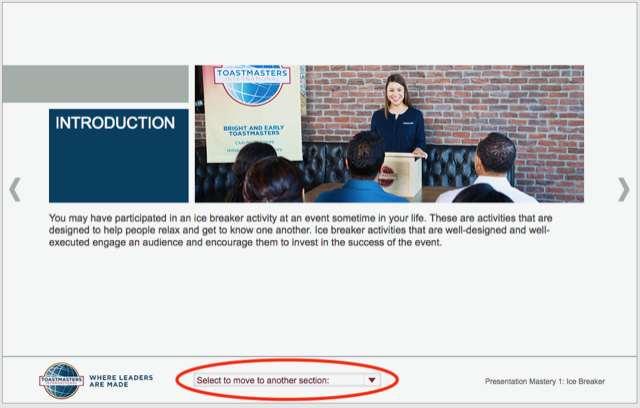
If you’ve printed your project, you know this step. At the bottom of every project window, there is a dropdown menu with a link to every individual page in the project. This allows you to navigate directly to any page without having to click through pages sequentially.
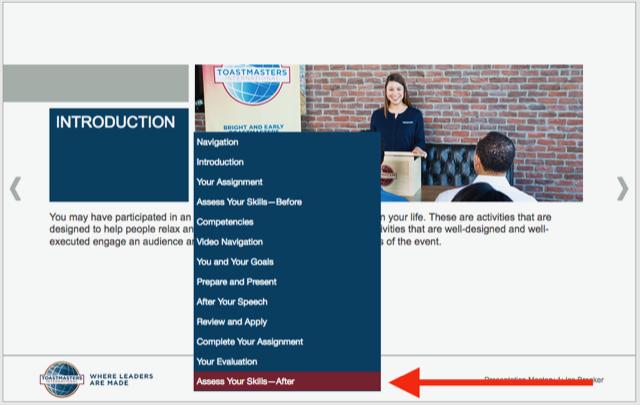
To mark a project as complete, go to the “Assess Your Skills — After” page, which is always the last one in the list.
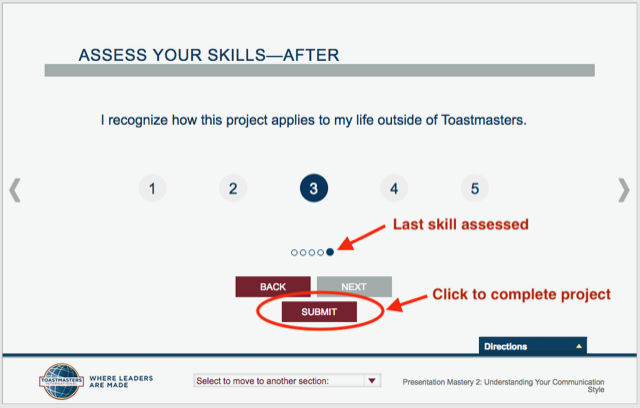
Here is what that page looks like. It is a mirror of the “Assess Your Skills — Before” that you (should have) filled out when you started the project.
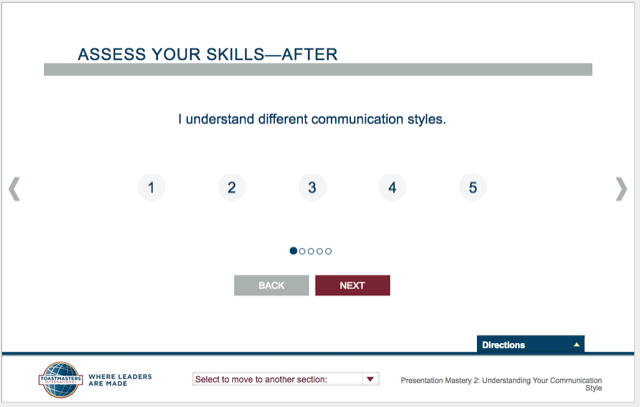
For each of the skills being evaluated, choose the number 1–5 and click the “Next” button to go to the next skill. (In Pathways, 3 is a satisfactory/good score. 2 means you need more work in this, 4 means you are better than most people, and 5 means you are so good there is little for you to learn in this.) DO NOT click the right arrow.
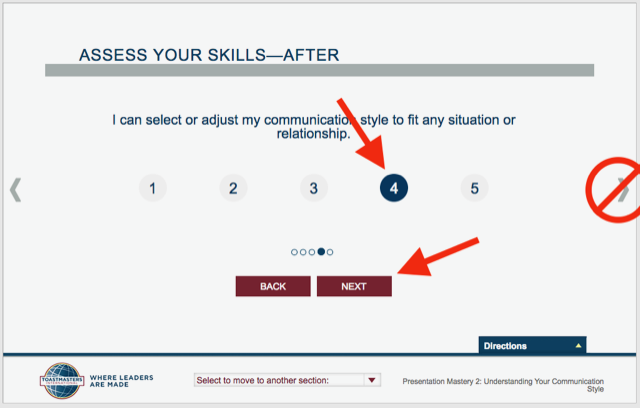
When you have assessed all 5 or 6 skills, a “Submit” button will appear. When you click “Submit,” that will signal to Pathways that you have completed the project.
That’s it. As mentioned, all projects work the same way, so after you’ve done this a time or two, the procedure will seem very easy.